Have you made something with my beads??

If you're a crafter or artist and have created something unique with my beads or glass tiles, and would like to be featured in my website as a guest artist, please email me at cec235@hotmail.com.

Wednesday, April 30, 2014

Changes, Risk, and Reward....

About three weeks ago, I moved back to America.


There, I've said it. It's true.  Everything is changing - my life is changing, my business is changing, and my relationships with the people most important to me, my friends and family, are changing rapidly.

The name of my new business is Wild Roses Glass Art Studio and Gallery, and I'm now located in the beautiful town of Long Beach, Washington.  That's Washington state, on the west coast.  Where it "rains all the time."

Today I took the bus down to Astoria in Oregon - yes, I crossed state borders! - and took photos of Ilwaco, WA (where I had to switch buses) and one photo of Astoria, OR (where I ran errands).  All in the rain, so you can see how terrible the weather is up here.

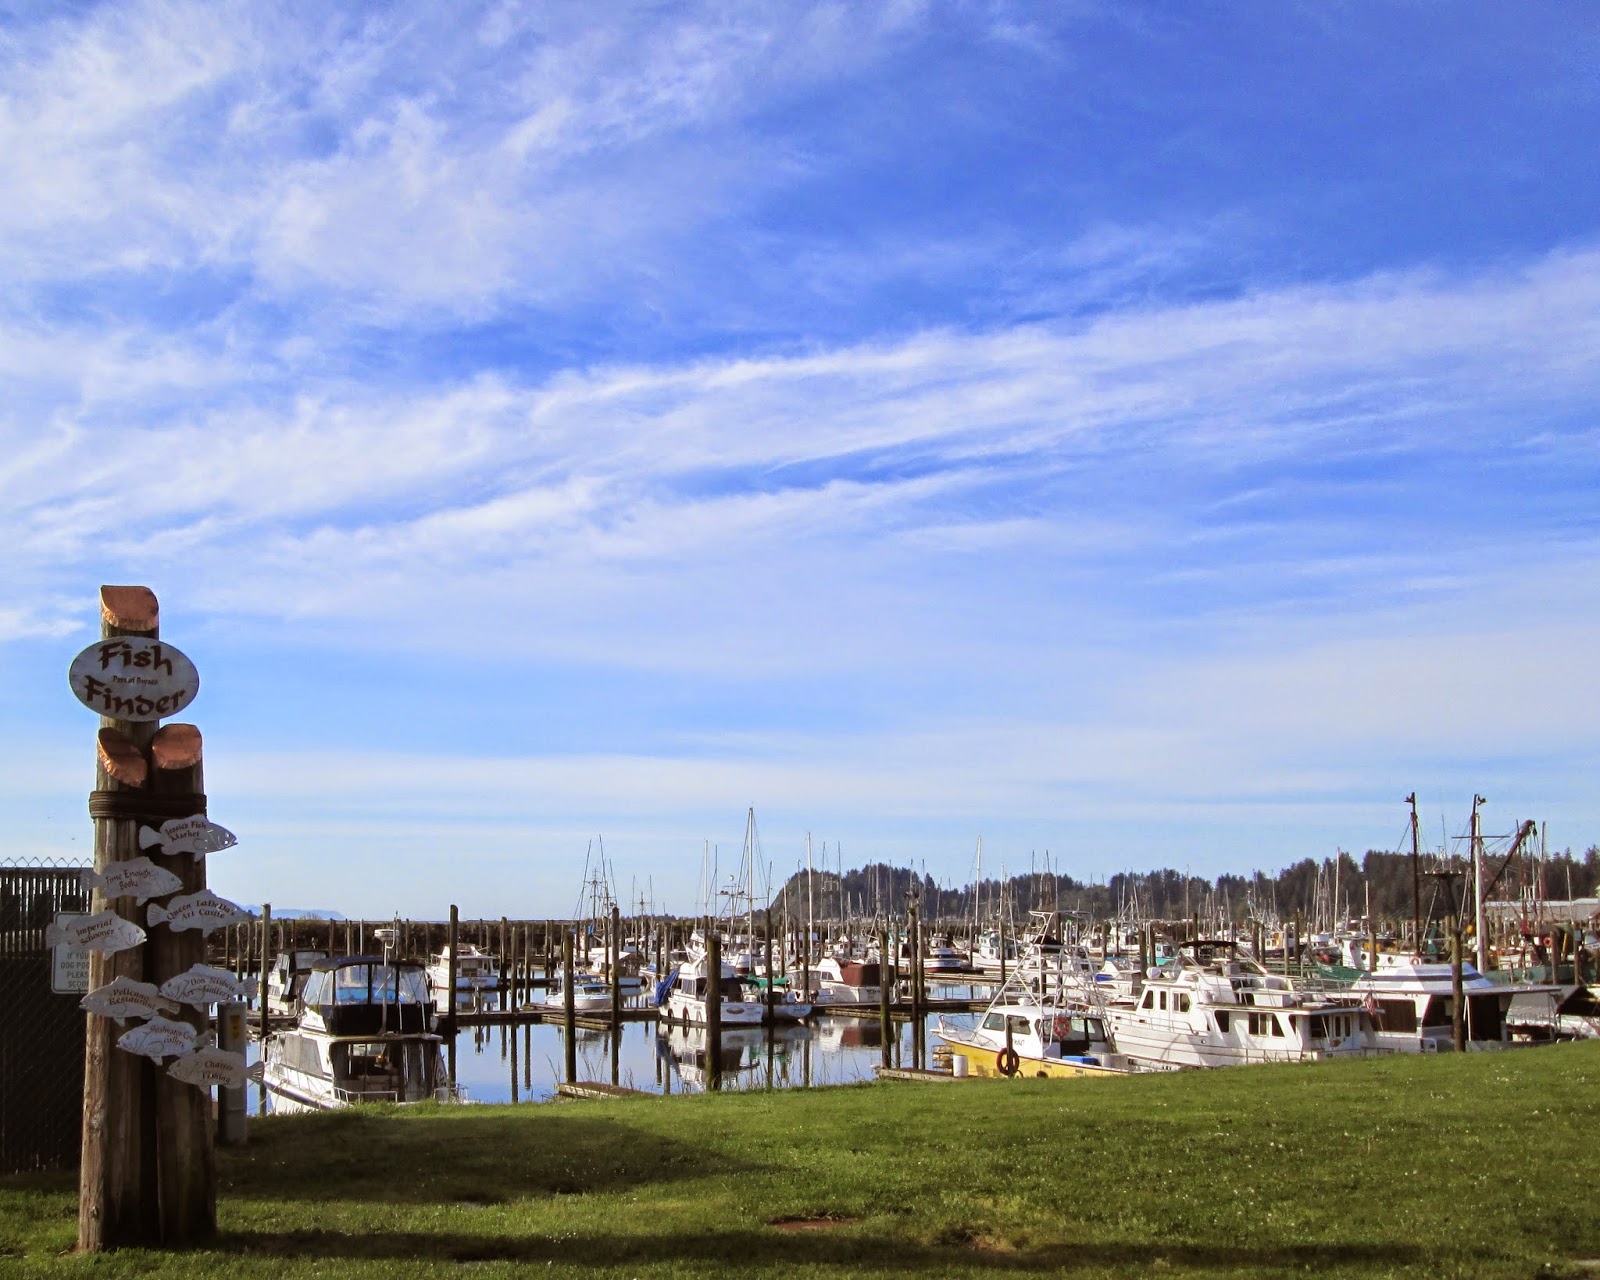
This is the lovely Ilwaco Port. It's very quiet most of the year, and will open with a bang this weekend with some kind of parade and blessings for the fishing fleet.


 And here are some signs from Ilwaco Port:

Last day for this one:


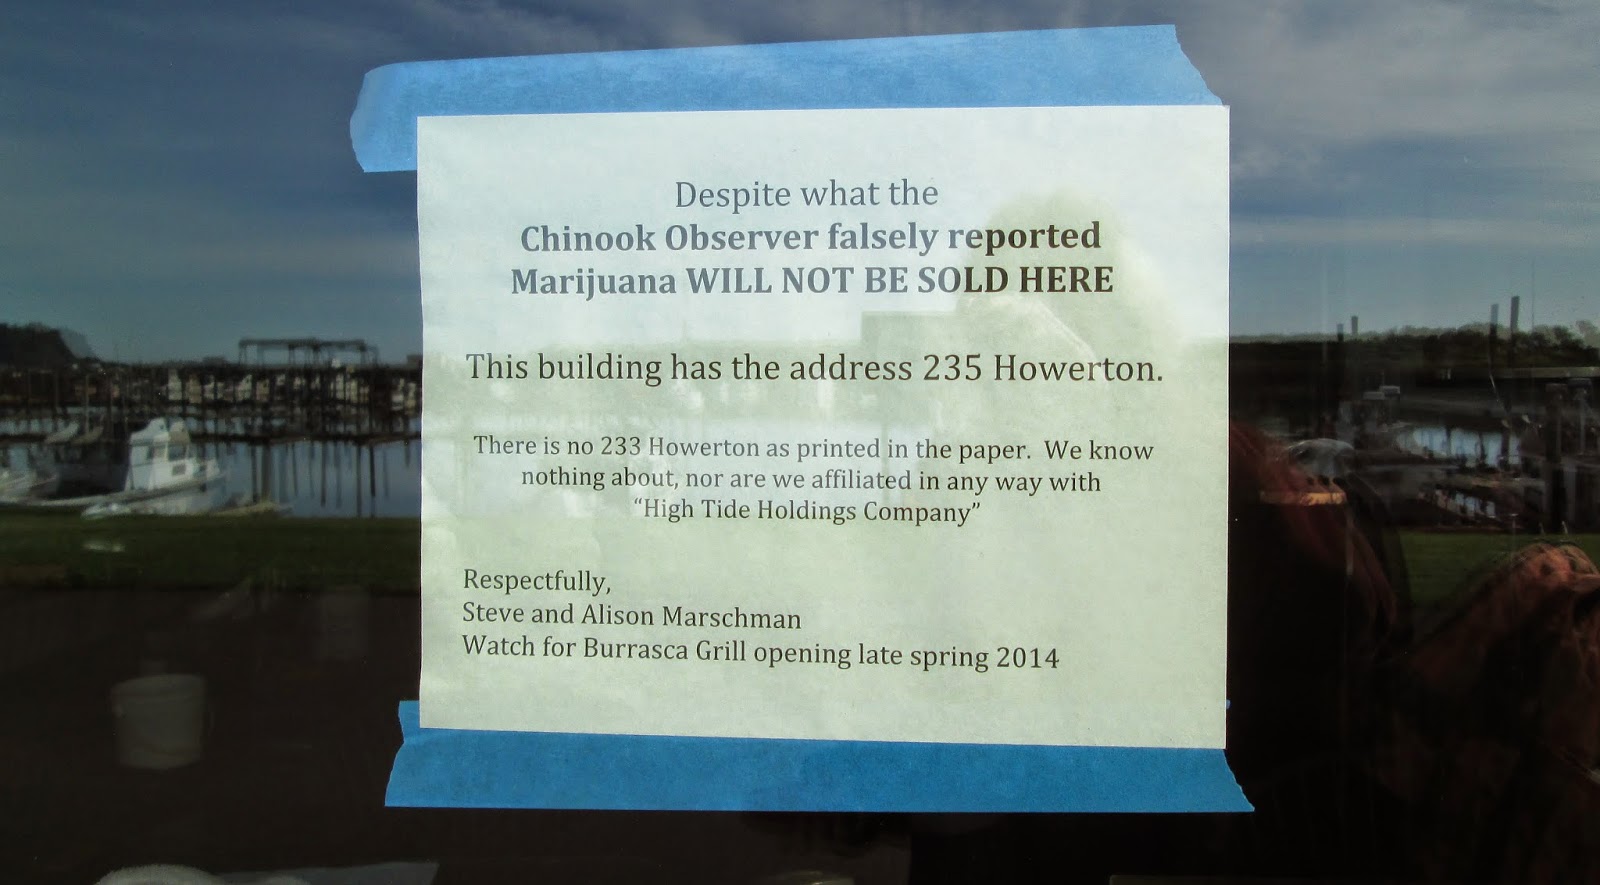
And this is a sign you might only see in Colorado and Washington state:


This one you might only see in a Port village:


And finally, here's the road home:


My studio is somewhere floating over the seas, in a container.  I won't be doing glass work until July, most likely.  But I'll continue to update my blog with local photos as I get to know the area.


Saturday, January 11, 2014

New Project, First Cut!

I've accepted a new project - 3 large windows for a private client depicted the Jewish "7 kinds," or "Shivat HaMinim."  This is biblical agriculture, symbolic of the bounty of the holy land, and they are typical of what is native in the Mediterranean, and we all know that the Mediterranean diet is best, right?  They also happen to be fairly drought resistant, which is a good thing, considering the weather here.  No polar vortex for us, yet.

Getting back to glass, just what are the 7 kinds?  Dates, figs, olives, pomegranates, wheat and barley, and grapes. 

Just to make it crazier, I've given myself a personal challenge to complete a window a week.  If that fails, a window every 2 weeks.  I decided that I'd work on a third of each window at a time.  Yesterday I started cutting glass......

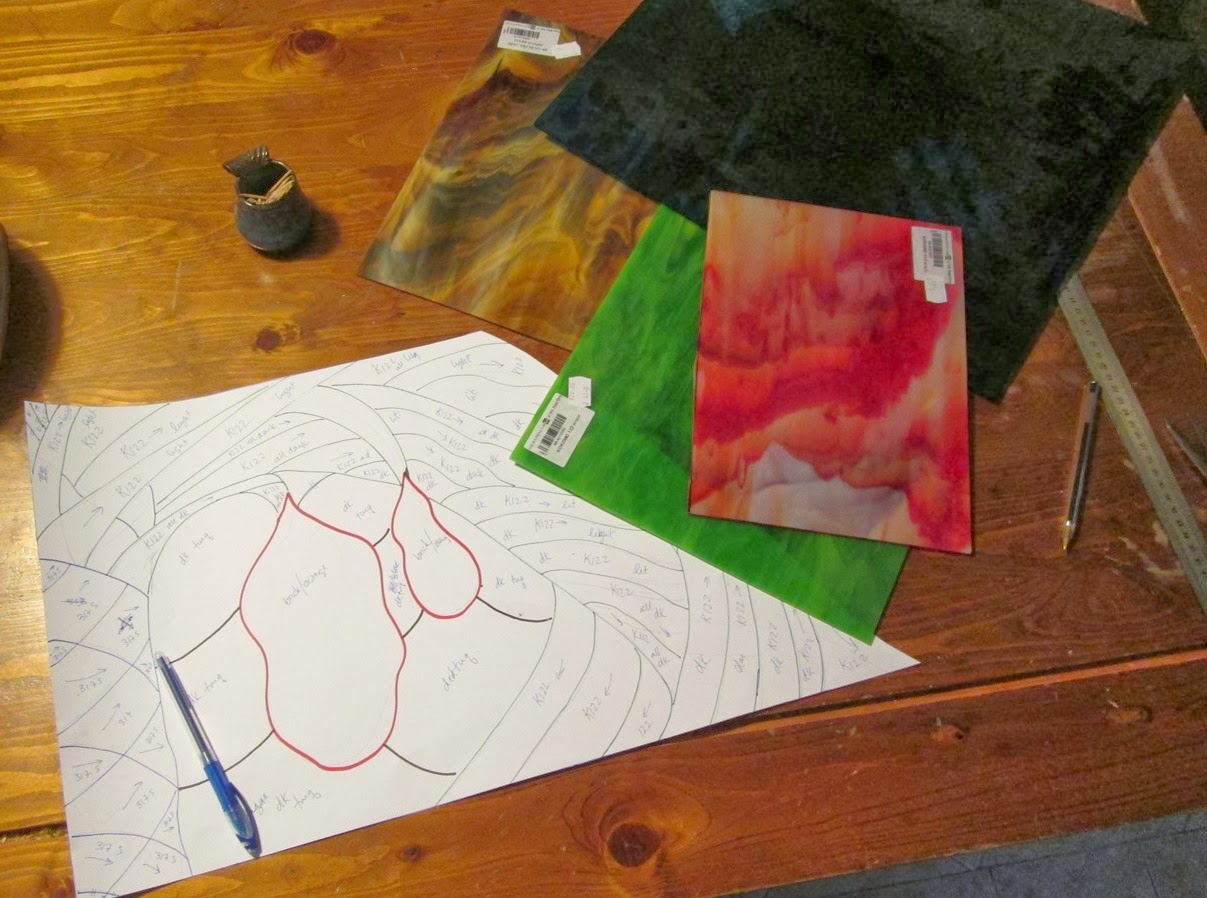
Here is the pattern for the first third, with the glass I picked out.


And here is the first group of glass from this pattern that I cut.... after grinding and washing, before foiling...


And here are those same pieces, ready to solder....
 
 
And here, tah dah.... is the finished third, date palms!


Tomorrow, I start the figs.... watch this space!

Sunday, December 22, 2013

Peacocks Revealed

Friends have been asking for step-by-step process photos of my peacock windows.  Fortunately for you, that's not possible... the peacock windows were made over a year, weathering various home, employment, and family events and upheavals. I'm posting a few photos here for the curious, and also because it's kind of nice to leave a record. 

The process started with a rather lengthy dialog as my clients decided first if they wanted me to do the project for them, and then working with me on the design concept.  Once we settled on that, it took me some time to draw out the patterns to my satisfaction.  At one point I visited a zoo to refresh my understanding of how peacocks pose, walk, and drag their tails.

The entire pattern is quite a bit larger than I am, and I had the paper spread out over the living room floor, with the furniture shoved to the sides. I did them first in pencil; when I was satisfied with the pattern, I went over each line with felt pen to mark the cutting lines.


I worked with about a hundred different colors of glass. Every sheet of glass is marked with a code that indicates manufacturer, surface texture, color, and saturation (there are only a very few that I know by heart, just for the record).  That code had to be transferred onto each of the thousands of pattern sections. By laying the glass out next to the pattern, I could immediately find the color I wanted. After the codes had been marked on the pattern, I put the glass away so we wouldn't be stepping on it every day for a year.

 
Then it was time to start cutting glass. 
 
The thousands of pieces in the windows multiplied by as many cuts as I needed to prepare each piece, because no piece can be cut with only one motion. I worked each window separately, and worked each window in multiple sections.  Here is my work station as I prepare the corner of window, most likely the bottom right piece of one of the lower windows, which are almost all peacock tail.
 
 
After pieces were cut, ground, washed, and belted with copper foil, I soldered them. This photo shows me soldering one of the upper windows. Soldering the larger windows was backbreaking work. Not that I'm complaining - I'm sure there are much harder ways to make a living!
 
 
As each section was prepared, I situated it in its final place, taking care that the window dimensions were exact. You can still see the gaps between the sections here... I soldered those last of all. There were a few gaps that were even wide enough to fill with more glass, giving the window a feeling of flowing feathers, rather than lots of lead.
 
 
Once each window was completely soldered up on both sides, it was time to apply patina, a mild acid that stains the metals.  Patina doesn't harm glass - it's not strong enough to etch it. Since it's a skin irritant, I always wear gloves when applying it.  You can see where the seams are black (where the acid has been wiped on) and where they are still silver (not for long!), the natural color of the soldered seams.
 
 
After the windows were completed, I transported them (with David's generous help, because there was no way to load those things into my car by myself!) to the clients' home.  They scheduled a team of glaziers to install them.  Although the photos here are appearing one after another (it looks like it took no time at all!), we actually installed them in three visits.  In the first visit, we installed the upper and lower left windows.  The lower window was installed so quickly I didn't even get a photo of it, just dropped into place, really. Here they are installing the upper window in its frame. The glazier on the left is so extraordinarily tall that I couldn't get his feet and head in the same photo.


We met a second time to install the upper right window.
 
 
And we met a last time to install the lower right window. All in all the installation was an amazing experience!


Just to give you a sense of size, If I were to stand alongside the window, my head would probably be resting below the gray back feathers of the peacock (and I'm not particularly short).  These are HUGE windows.  And I'm very proud of them.


Friday, August 9, 2013

Glass & Metal

I've been offline a LOT this year...  I could blame my internet connection, which has been rather "iffy"... yes, we all have days like that (but 6 months? bleh...).  I've had a spot of problems with my studio, etc.  But the absolute real reason I haven't been posting is that I'm incredibly busy after increasing my responsibilities at my challenging day job and putting most of my free-time focus on both finishing up previous art commitments and learning new techniques.  Mostly metal techniques.  Eventually they all somehow enter my glass art designs, so I can excuse the time spent as worthwhile, besides being loads of fun.  I don't see myself becoming a jewelry designer, but "never say never" is my mantra when it comes to my creative crafts.
 
THIS... is a winged coat pin.  Fire agate, fine silver, German silver, sterling silver.  You'll have to tip your head sideways to see it, as blogger seems to prefer sharing it with us sideways only.  The little knobby thing (at the left) goes at the bottom, keeping the pin point from snagging on fabrics and generally keeping humanity safe, because that pin is sharp!

Sunday, February 10, 2013

Blessings.....

Running my business through the internet has blessed me with opportunities to get to know people who I would never have otherwise met. The catalysts for our friendships, collaborations, and conversations have been creativity, tragedy, mutual interests, family celebrations and (sometimes) just good will and curiosity all around.

I'm thinking particularly of Anna and her wonderfully loving children who have embraced me as an honorary aunt, Candy and her daughters, Shelly and her husband Michael, and Julie who collects stamps and sends them to school children in Cuba so that they can learn about the world. Laura, who has helped me so much, Robert who makes beads from bottles and glittery pufferfish from papier mache, and Magali from Australia who I'll soon meet when she visits her sister. Beatriz who hopes to come to Israel one day, Simone in Brazil who teaches teens to work with glass as a key to getting them off the streets and away from crime, and Laura the librarian who loves cats and glass art.

There are so many others I should mention, and they are everywhere! Every single one of you - those I've mentioned and those I haven't, are all my kindred spirits in this crazy world. Even if we never meet in person, I’m blessed to have you in my life. You are inspiring!

For Adam…..

Monday, October 29, 2012

Rokmot - the Embroidery Club

Lately I've been reorganizing my life and one of the things I feel compelled to do is help women from Sderot use their god-given and hard-earned talents to help support their families.  Rokmot is an Embroidery Club of sorts. The women who belong are all immigrants from Ethiopia, long time citizens of Israel who've yet to find financial stability. I've already met with them several times, and I'm honored to help them discover the world of virtual marketing.

In our first meeting we talked about their dreams and what's out there, in general.  What's needed to make this happen - after all, none know how to use a computer, speak English... there are a lot of new skills for them to learn.  In our second meeting, we experimented with my digital camera.  For all but the program director, it was the first time they'd ever held a digital camera - we spent time photographing each other and their work.  This is Kasah, showing an embroidered skullcap/kippa/yarmaka that she made, surrounded by her projects.


Kasah
All the women are quite talented.  We have high hopes - together we're going to open an Etsy shop for Rokmot. They'll learn to photograph, price, and ship their work. They'll eventually learn how to create their own listings and manage their shops. 
 
 
There are several regulars:  Bosanah learned to embroider before she immigrated to Israel 21 years ago.  She's lived 20 years in Sderot.  Genetiah learned crafts from her mother in Ethiopia as a young girl.  Her baskets are quite amazing. In Ethiopia she wove her baskets from palm fronts and dyed plant material. Genetiah still uses palm for the structure, but she has added a modern twist and wraps the fronds with gift ribbons to create complex patterns.  Tefetah embroiders because it makes her feel good.  She also enjoys the social aspects of sitting with friends who are also crafters.  Kasah comes to Rokmot because it makes her smile.  Her 5 children have all grown up and left home.  She explained to me clearly:  "I enjoy doing this work because it keeps my hands busy."  


Genetiah and one of her beautiful baskets
This isn't a short term project - but if you can help, we need craft materials and encouragement. You can contact me at cec235@hotmail with questions and messages for the women of Rokmot. All proceeds from their future Etsy shop will be used at first to keep the program running.  We do hope for enough sales for the women to take some money home, too.  I know we'll get there!

Sunday, June 17, 2012

Leaving... on a jet plane.....

The Dondero Windows are finished, and heading to their new home.

Last week I completed and delivered the third Dondero Window. In two days all three panels will be (carefully) packed up and shipped to the Dondero home in New Mexico, where they'll be hung in a large and sunny entrance hall.  For those who missed the first postings, here are the first two panels with their owner. 

Suzanne and Russ had me make these windows in honor of their three children - Yasmin, Aaron, and Ariela.  Each panel celebrates one child.  The three panels, when hung correctly, form a flowing depiction of the history, geography, and agriculture of Israel. 
Here's me making Aaron's window (the last of the three):


In the first photo, you can see that I've started to cut the glass.  I only enlarged one copy of the pattern, so I had to be very organized.  As I cut each piece, I put it exactly in its place in the panel design.  I only cut out a few pieces from the pattern each time so as not to get them mixed up.


In the next two photos, I've started to foil the pieces.  Naturally, this is only after each piece was ground, washed and dried.  As I was doing this step, I had the missing piece with Aaron's name in my fusing kiln.


The last photos show the panel completed.  You can see that I've not only soldered everything, but I've also added strong lead borders, top hanging wires, and little curling grape vines from wire. 


This was a wonderful, fun project to do.  I always love the challenge of creating something for someone else - it requires that I work with their imagination as well as my own, and often the results are quite surprising.  My new custom project - a huge project! - is a set of 4 windows with a peacock standing in a jungle for a client in Arad.  I"m still enlarging the pattern, so the bulk of the work still awaits me :-)

Friday, June 1, 2012

Shopping Links

I'm pleased to offer a sampling of the items I sell through Etsy.  This display automatically updates when I add new items to my shops; clicking on any of the thumbnails will bring you specifically to the item in the photo.  You can also click into my shops by clicking on the shop name that appears under each photo row. 

Happy browsing!


Friday, January 27, 2012

Ariella's Window....

A long-time friend commissioned three windows from me, each in honor of one of her kids.  They'll spend only a short time on display in Israel before being packed up and flown to New Mexico, where they'll be hung in a large window for all to enjoy.

I created the patterns for all three windows with the final destination in mind.  A huge stained glass window would be prohibitively expensive, so Suzanne suggested three separate panels, hung across the space.  These are the three patterns, and this is how they will eventually be hung.

The green band, which runs through all the panels, represents "prozdor yerushalayim," the forested route that crosses the country and leads up to Jerusalem.  The blues at the bottom represent the Mediterranean Sea, on Israel's coast.  The light blue section towards the bottom of the middle panel represents the Dead Sea, and the rocks underneath it are the cliffs that rise above the Dead Sea, along the Jordanian border.  A lot of the brown is desert. The grapes, pomegranates, and wheat depict Israel's agricultural bounty. The town at the very top is Jerusalem.

And this is the first of the windows, ready for delivery (shown next to its pattern).  It was made for Ariella, a charming toddler. 

You can see photos of the entire process of making Ariella's window (cutting, foiling, soldering, preparing the fused piece, applying patina, etc) in my Facebook page, Glass & Light, Israel.   Hope to see you there!

Sunday, November 20, 2011

Glass & Light in the Hebrew News

My studio has generated an unusal amount of media interest in the past month, for which I'm grateful even if I don't have any idea what triggered it. I'm starting a new page with links to my Hebrew media and I'll update it if/when further articles appear.  In the meantime, here we are...

Israel Haiyom (Israel Today) is Israel's most-read newspaper (perhaps because it's free!). I was interviewed for an article about art and tourism in our area. The journalists spent almost an hour with me, and even photographed me lampworking (none of the photos made it into the article). They wrote lovely things about me and my work, and suggested that people visit my studio. Read it in Hebrew here.  Nov 2011.

Motsash (Saturday Night) interviewed me by phone for their Made in Israel feature and included photos of my work. Sigi Breuer, a charming neighbor, friend, and talented ceramics artist, shares the full page article with me (you can see her in the top photo, working on a flower). It's a very nice article and makes me sound much more dedicated than I feel on cold, raining mornings like today.  Read it in Hebrew here.  Nov 2011.

Friday, September 30, 2011

Spice Door Madness

My friends, Orli and Ron, were doing some kitchen renovations.  Ron made a wonderful wooden spice cabinet and they decided that what it needed was some stained glass!

The panel is about 43 cms square (17 inches on all sides) and afixed to the door with brass corner doodads (that's the professional term, of course). If you look carefully, you'll see eggplants on the left, tomatoes up top, and red-hot chili peppers growing on the right.  The project was a blast to do - I love the challenge of working inside someone else's imagination, which always prods me into new designs that I would never have thought of myself.  The panel's front is finished with a warm copper patina to match the wood of the cabinet and the overall feeling of their kitchen. I've left the back seams untreated, just oiled to protect them from the corrosion that is natural in their coastal home.

Because the colors don't show well in this photo (my biggest concern wasn't getting the light right, it was putting the door in a place where I wouldn't accidentally knock it over before delivering it to them!) I'm adding a photo of the panel before installation, leaning in a window.  It doesn't have direct light shining in from the back, but it is much brighter. 
Thank you, Orli and Ron!

And here it is installed, photo sent to me by Orli:

Friday, August 12, 2011

Book Review – Mosaic Art and Style

As a crafter and artist, I love looking at books with collections of other people’s work – and this book is outstanding. There isn’t even a hint of how to do mosaics here, so don’t expect to find project instructions, but if you’re like me, you’ll love the massive outpouring of creativity. The photos are (mostly) high quality and they’re grouped well, so thumbing through the books has a smooth feel. 


There were absolutely too many favorites for me to add all the photos to my blogpost, but I’ve selected a few (provided courtesy of Quarry Books, who published this book). Mosaic Art and Style is packed with some absolutely stunning ideas for your home, some really crazy ideas that must have taken years to complete, and a few whimsical ideas that made me smile and that I would never undertake myself (like a mosaicked bicycle). Some artists have been profiled, and their profiles are like gems, little peeks into what makes them tick. Personally, I love that kind of stuff. (I read all the artist profiles on Etsy, too… maybe it’s just me.)


This book is truly inspirational: My overall gut response to this book is, “why aren’t I doing this??? A mosaicked (fill in the blank) would look great in my house/yard/studio, too!” As I noted, this isn’t a project book, but once you know the basics of mosaic technique, you’ll be able to suck in inspiration and motivation in equal parts.


The full name of this book is mosaic art and style DESIGNS FOR LIVING ENVIRONMENTS by JoAnn Locktov. If you go to Amazon.com and copy-paste in the entire name as I’ve typed it here, Amazon’s search will take you right to it.


Saturday, August 6, 2011

The Guitar Man

My son Nadav (aka son #3) came for a short visit and suggested that we do some stained glass together.  This is only his second stained glass project, so it's a good example of what a dedicated beginner can do (with some help). 

Step 1: Nadav found a photo snapped of him playing guitar in a concert from several years ago and I created a simple stained glass pattern from it.  I photocopied the pattern so that we'd have a master to work with after we cut up the original. Here you see the original photo and the new pattern.

Steps 2 and 3:
(Step 2 -Left) Nadav selected the glass. To save time, I cut out the pieces.  Nadav ground the edges, washed, and foiled everything.
(Step 3 - Right)  Once we had all the pieces ready, we point-soldered the pieces together to hold them in place before full-soldering front and back.


Step 4: One of the challenges was making guitar man stand up.  Nadav designed some big amps.  We originally thought to add one to each side at an angle.  As we worked, we moved the pieces and created one double-sided amp, which we soldered very firmly at several points to his leg.  The hearts are solid brass pieces that we coated with a layer of solder.


Step 5: After all the pieces were soldered together, Nadav used acid to blacken the guitar and strap, plus his hairline.  All other seams were left silver.  After the acid patina was applied, the Nadav scrubbed everything down yet again with dishwashing liquid and and old toothbrush. 


The finished piece next to the original photograph:

And the finished piece held by the original guy!

Did you know I recycle?

I reuse shipping and packing materials whenever possible. If relevant, your package will include a note to let you know how I conserved resources when packing up your purchase.

I've been featured on....